Marketing and messaging keeps you in touch with customers without the busywork. You can send a one-off email campaign to a specific group, set up automations that fire around appointments, and fine-tune the confirmation, reminder, reschedule and cancellation messages people receive. This guide walks through each part from your owner dashboard.
Send a one-off email campaign
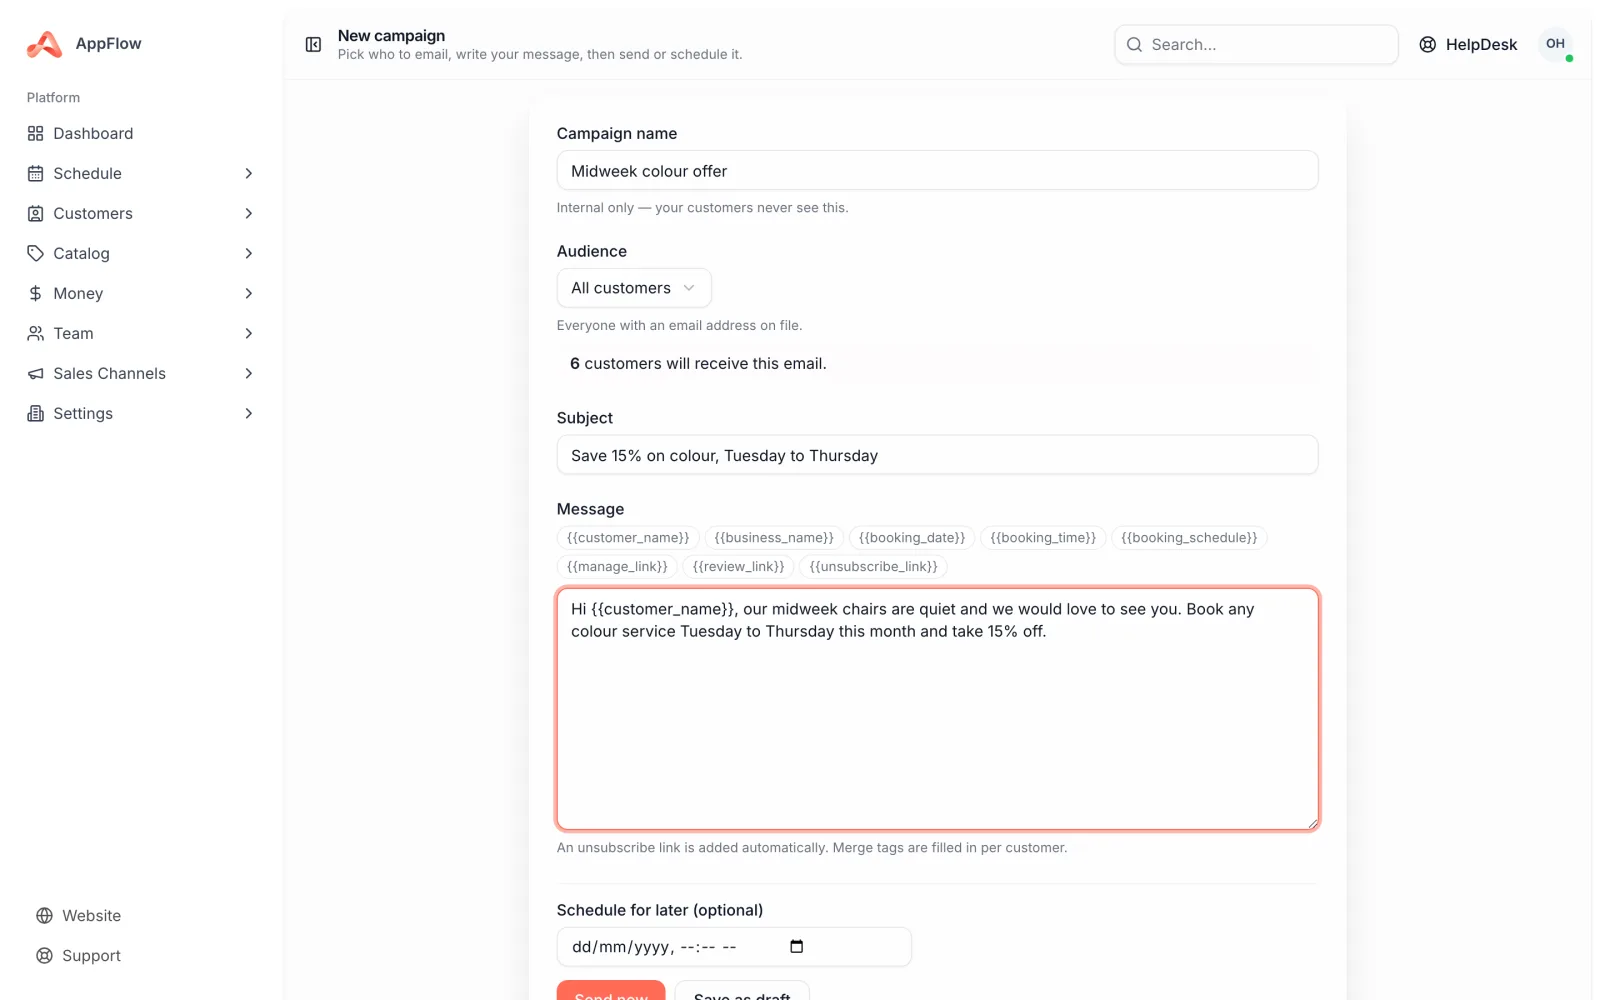
A campaign is a single email you send to a chosen group of customers: a quiet-week offer to lapsed clients, a thank-you to your big spenders, or a welcome note to new bookings.
- 1
Open Marketing and messaging
From your owner dashboard, go to Marketing and messaging, then select Campaigns and choose New campaign.
- 2
Pick your audience
Choose a segment such as lapsed customers, big spenders, no-shows or new clients. The live audience count updates as you adjust the segment, so you always know how many people will receive the email before you commit.
- 3
Write your email
Add a subject line and your message. Use merge tags to drop in details like the customer's first name, so each email feels personal without you writing them one by one.
- 4
Choose when to send
Send now, schedule it for a date and time that suits, or save it as a draft to finish later.
Tip: check the count first
Glance at the live audience count before you send. If it looks too big or too small, adjust the segment until it matches the people you actually want to reach.
Set up reminders and follow-ups
Automations are messages that send themselves around an appointment. A reminder goes out before the visit to cut no-shows, and a follow-up goes out afterwards to invite the next booking or ask how things went.
- 1
Go to Automations
In Marketing and messaging, select Automations and choose New automation.
- 2
Choose the trigger and timing
Decide whether the message sends before or after an appointment, then set how far ahead or behind: for example, a reminder 24 hours before, or a follow-up two days after.
- 3
Write the message
Add the wording customers will receive and use merge tags for personal details like their name and appointment time.
- 4
Skip anyone already booked in
Turn on the option to skip customers who already have an upcoming booking, so a follow-up does not nudge someone who has already rebooked.
- 5
Turn it on
Save and switch the automation on. From here it runs on its own around every matching appointment.
Tip: keep follow-ups useful
A follow-up works best when it gives the customer a reason to come back. Mention when a repeat visit is due, or include your booking link so they can rebook in a tap.
Customise your booking messages
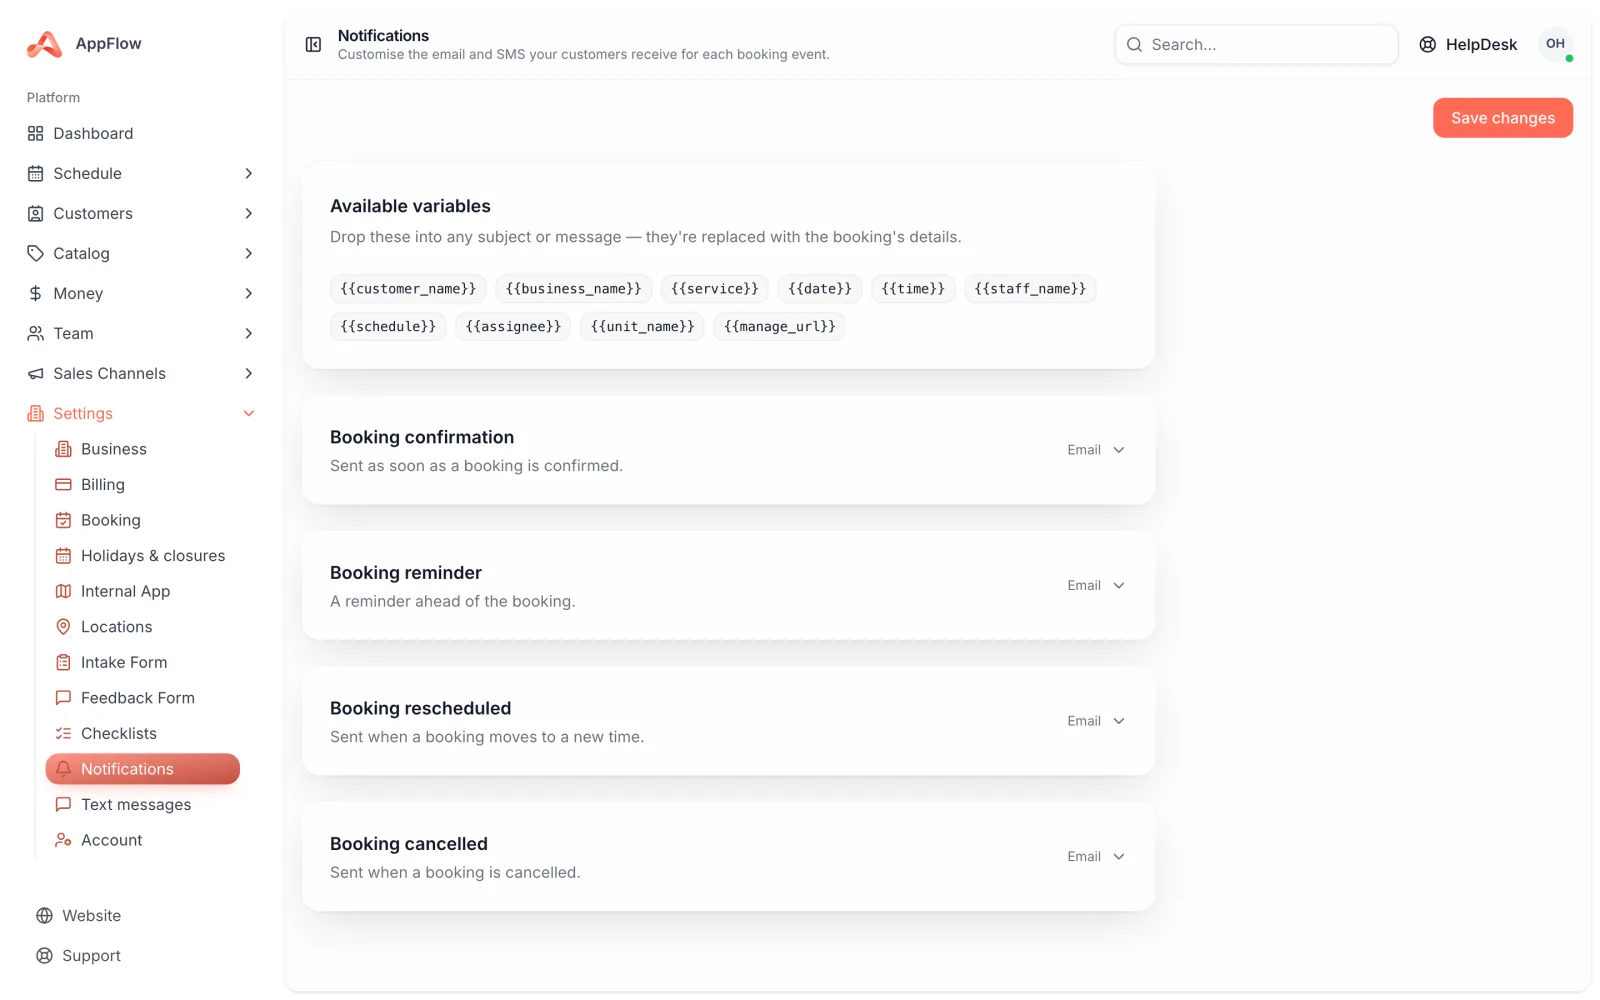
Every booking sends a few standard messages: a confirmation when it is made, a reminder before the visit, a note when something is rescheduled, and one when it is cancelled. You can edit each of these for both email and SMS so they sound like you.
- 1
Open your message templates
In Marketing and messaging, select Templates. You will see a template for each booking event: confirmation, reminder, reschedule and cancellation.
- 2
Edit the event you want
Pick an event and edit the email version, the SMS version, or both. Use merge tags so each message fills in the right name, date and time automatically.
- 3
Save your changes
Save the template. From now on, every booking of that type sends your wording instead of the default.
Tip: keep SMS short
Text messages are best kept brief and clear. Lead with the key detail, the date and time, and leave the longer wording for email.
See how your booking link converts
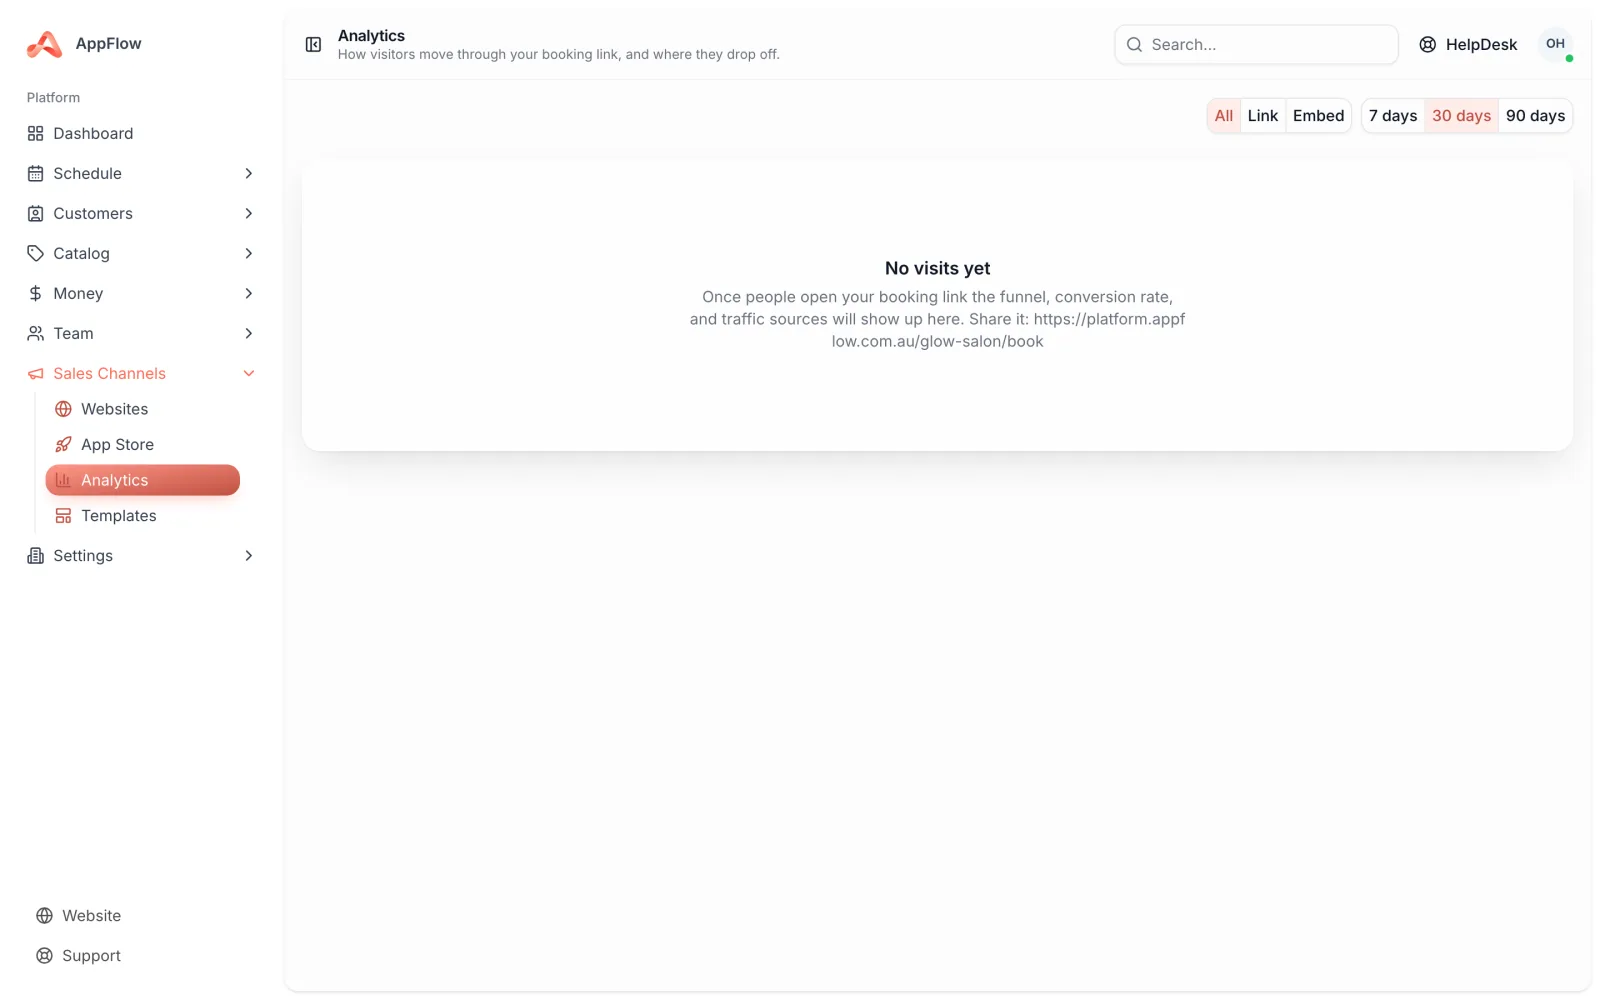
The booking funnel shows how people move from clicking your booking link or embed through to a confirmed booking, so you can see where they drop off and what is sending you the most traffic.
- 1
Open the funnel
In Marketing and messaging, select Booking funnel.
- 2
Read the conversion and drop-off
Each step shows how many people reached it and how many moved on, so you can spot where customers are leaving before they book.
- 3
Check your referrers and UTMs
See which sources and campaign links are driving bookings, and put more into the ones that work.
Staying compliant
Every campaign email includes an unsubscribe footer, and anyone who opts out is added to your suppression list so they are not contacted again. This keeps your messaging on the right side of the rules and protects your reputation with customers.
- Campaign emails always include an unsubscribe link.
- People who unsubscribe are added to the suppression list automatically.
- Suppressed customers are skipped on future sends, even if they fall inside a segment.
Was this guide helpful?
Still stuck? Contact us