Your booking experience is what clients see when they book with you. It runs as a three-step flow: they build their booking by choosing services and add-ons, pick a day and time, then enter their details. The same flow powers two things: a hosted booking link you can share anywhere, and a widget you can embed on your own website. This guide walks you through getting both live and looking like your brand.
Get your hosted booking link
Every business gets a hosted booking page with its own web address. This is the quickest way to start taking bookings, with nothing to install.
- 1
Open your booking settings
Go to Settings, then Booking link. This is where your hosted page and widget both live.
- 2
Choose your slug
Your slug is the last part of your booking web address, for example the part after the slash. Pick something short and easy to say, like your business name.
- 3
Copy and share your link
Copy your full booking link and add it to your Instagram bio, Google profile, emails and anywhere clients find you. It works on any phone or computer.
Theme it to your brand
Your booking flow carries your brand the whole way through, so it feels like part of your business and not a generic form. Your logo, colours and corner rounding all flow through automatically from your brand settings.
- 1
Add your logo and colours
In your brand settings, upload your logo and set your main colour. The booking flow picks these up across every step.
- 2
Set your corner rounding
Choose how rounded your buttons and cards look, from sharp to soft. This matches the rest of your brand.
- 3
Preview the flow
Open your booking link and walk through all three steps as a client would, so you can see your branding in place before you share it.
Tip: check it on your phone
Most clients book on their phone, so open your booking link on a mobile and tap through it once. It is the best way to spot anything you want to tweak.
Embed the widget on your website
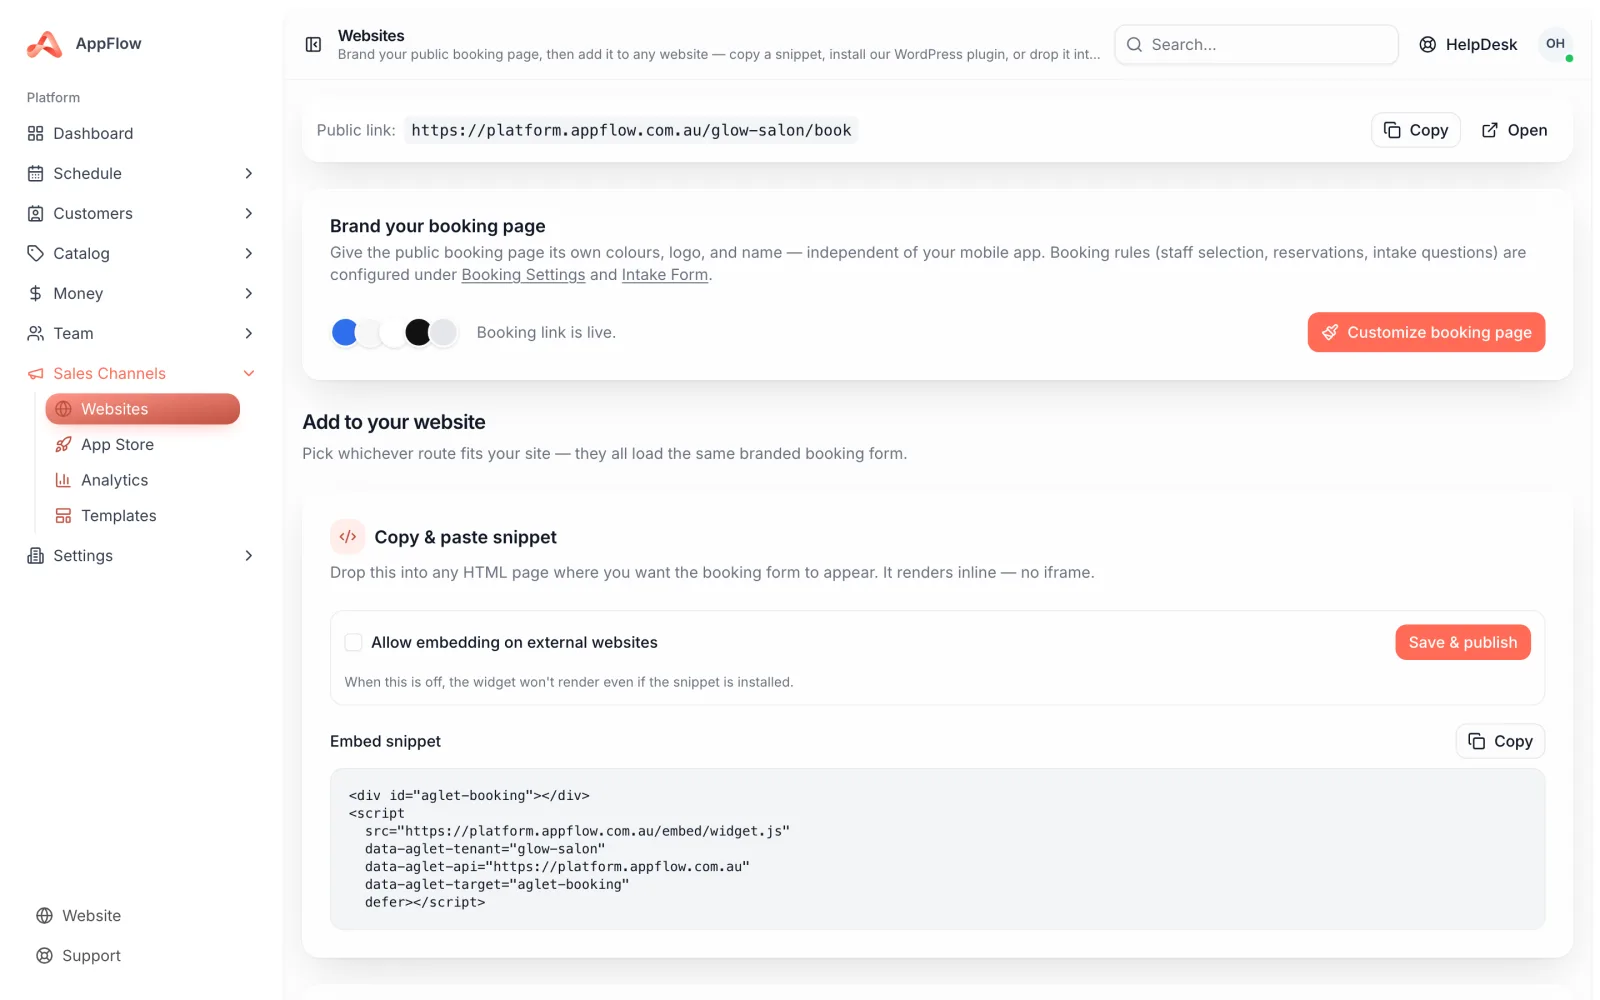
If you already have a website, you can drop the booking flow straight onto it with one snippet of code. There is no iframe and no style clash, so it sits cleanly inside your page and stays styled to your brand.
- 1
Copy your embed snippet
In Booking link settings, find the Website widget section and copy the single snippet of code shown there.
- 2
Paste it into your page
Paste the snippet where you want booking to appear, for example on a Book Now page. It works with plain HTML, WordPress and most website builders.
- 3
Save and test
Save your page and load it in a new tab. The booking flow should appear in place, themed to your brand, ready to take a booking.
Decide what to collect at booking
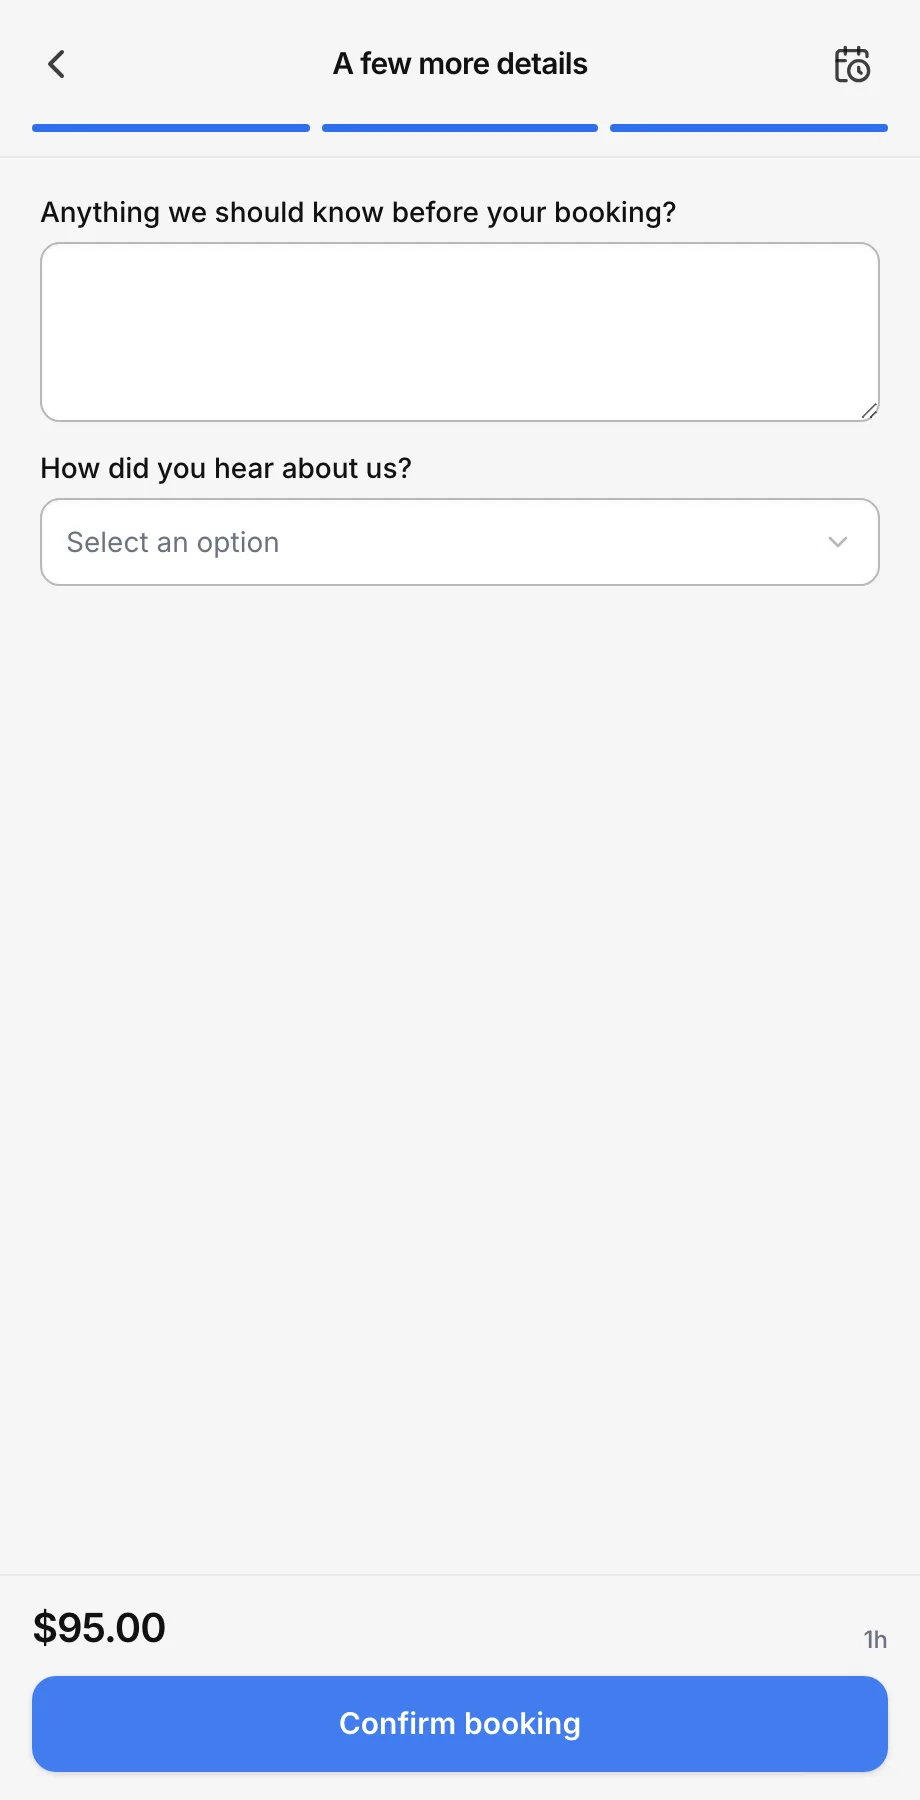
The third step is where clients enter their details. You can ask for exactly what you need and nothing more, so booking stays quick.
- Intake questions specific to the booking, so you turn up prepared
- Notes the client wants to leave you
- Consent for anything you need agreed before the appointment
- A service location and mobile address when you travel to the client
- A preferred staff member, when you choose to offer it
Tip: returning clients book faster
When a client has booked before, they can request an emailed code to be recognised. Their details pre-fill automatically, so they only confirm and go.
How available times are worked out
The times clients can pick are worked out for you, so you never get booked when you cannot take the job. Availability comes from your staff hours, the lead time you set before a booking can start, and how far ahead clients can book.
- 1
Check your staff hours
Make sure each staff member's working hours are correct, since these decide which slots appear.
- 2
Set your lead time
Choose the minimum notice you need before a booking starts, so you are never caught off guard by a last-minute slot.
- 3
Set your booking horizon
Decide how far into the future clients can book, then save. Your flow is now live and ready to share.
Was this guide helpful?
Still stuck? Contact us