This guide walks you through setting AppFlow up for your business, from your name and booking link to your services, hours and locations. Pick your industry at the start and a lot of this is already filled in for you, so most owners are ready to take bookings the same afternoon. You do not need any technical skills, and you can come back to any step later.
Tip
Follow the setup guide on your dashboard. It tracks what is done and what is left, so you always know the next step to go live.
Choose your industry
When you first sign up, choose the industry that fits you best. AppFlow then sets you up with a starter service menu, sensible default opening hours and a starter intake form, all built for the way your trade works. Nothing is locked in: think of it as a head start you can edit, rather than a blank page to fill.
- 1
Pick your industry
Choose your trade during sign up. This decides your starter services, default hours and intake questions.
- 2
Review what is included
Open Settings to see the starter services, hours and intake form that came with your industry. Keep what fits and change the rest.
- 3
Take the guided tour
Let the guided tours point out the key areas as you go. You can replay them any time from the dashboard.
Add your business details
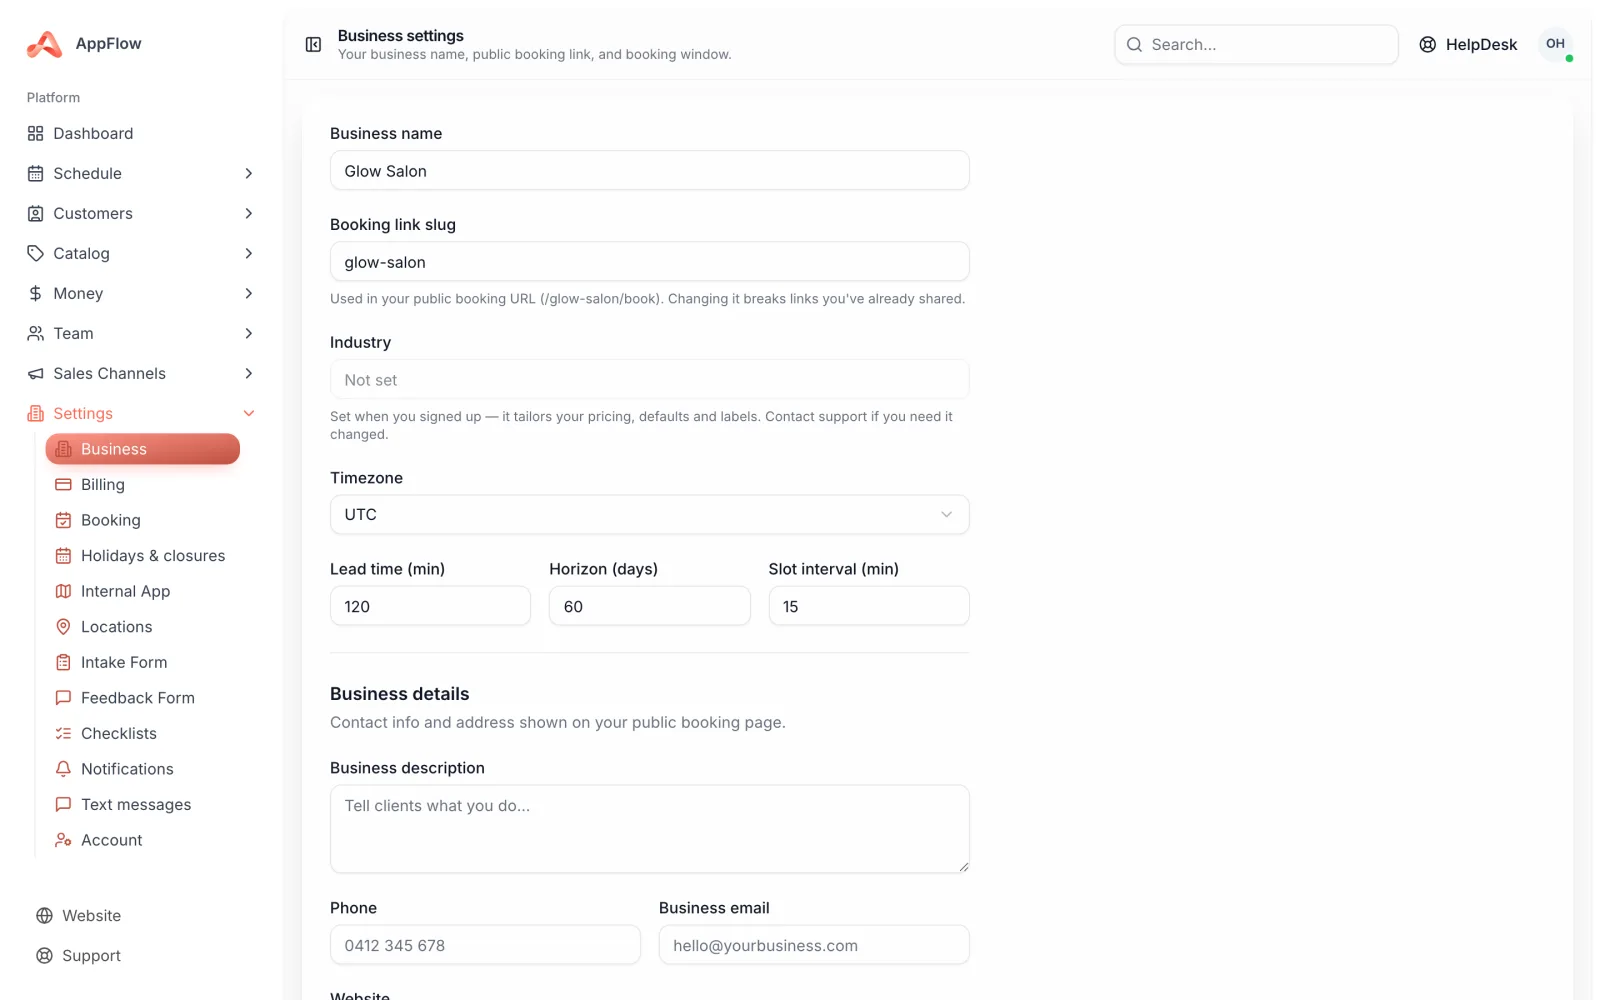
Your business details are what clients see when they book, so it is worth getting these right early. This is also where you set your booking link, the address clients use to find and book you online.
- 1
Set your business name
Open Settings and enter your business name. This appears on your booking page, confirmations and reminders.
- 2
Choose your booking link
Pick the slug for your booking link, for example appflow.com.au/your-business. Keep it short and easy to share on Instagram, Google or in a text.
- 3
Set your timezone and booking window
Choose your timezone so every time is correct, then set your booking window: how far ahead clients can book and how much notice you need before a job.
Set your booking rules
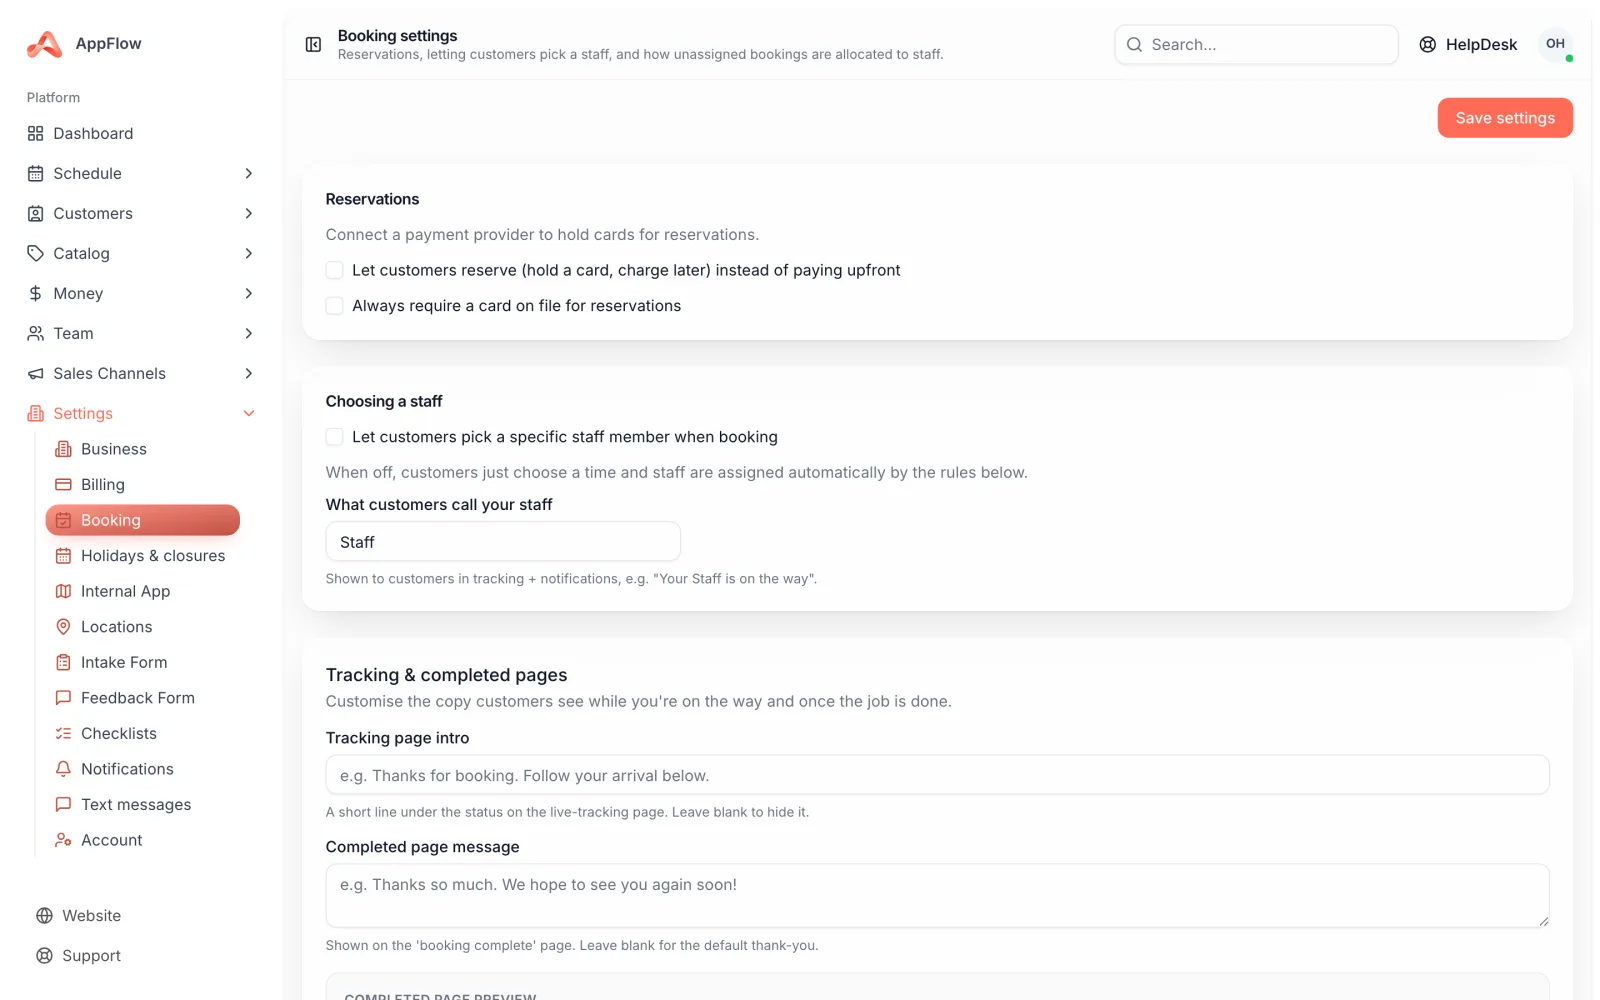
Booking settings decide how clients book with you. Set these once and online booking follows your rules without you having to think about it.
- Reservations: hold a slot while a client finishes booking, so two people cannot grab the same time
- Staff choice: let clients pick a team member, or assign jobs yourself
- Returning customers: make it quicker for regulars to rebook the services they had before
- Your job label: set the word clients see, whether that is appointment, booking, job or detail
Build your service menu
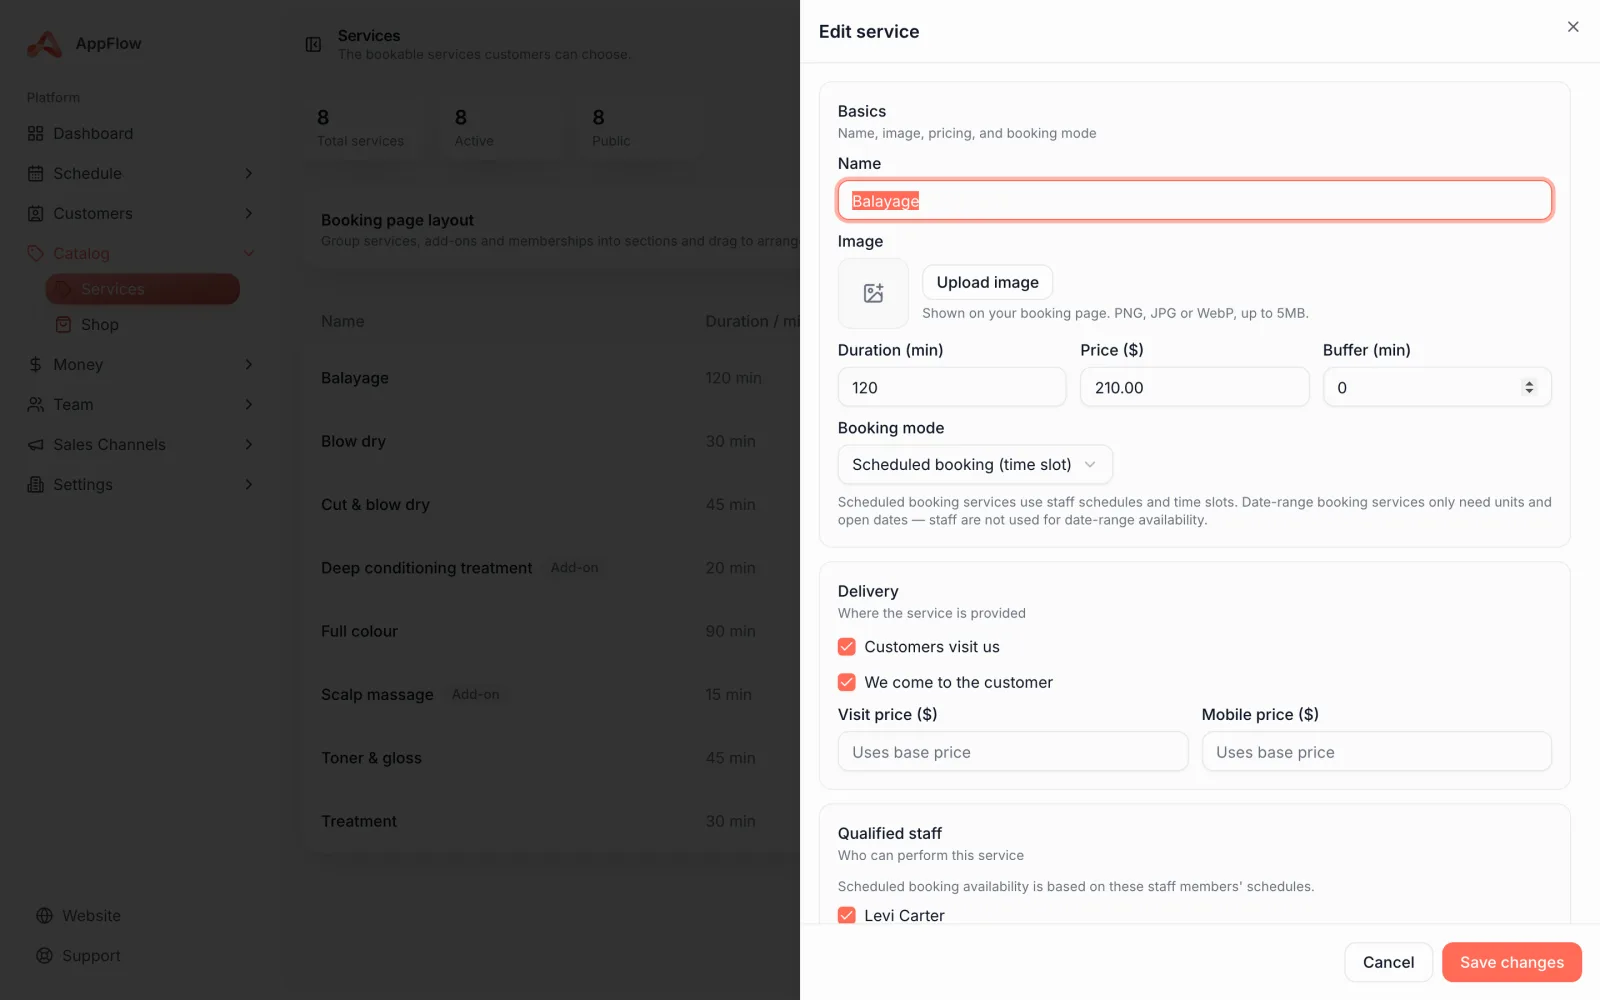
Your services are the heart of your booking page. Each one carries an image, a duration, a price, any buffer time and its own payment rule, so the calendar always blocks out the right amount of time and the right amount is collected.
- 1
Edit your starter services
Start with the services that came with your industry. Update the names, prices and durations to match what you actually offer.
- 2
Add images and buffers
Add a photo to each service so it looks the part, and set buffer time for cure, drying or clean-up gaps between jobs.
- 3
Set the payment rule
Choose how each service is paid: a deposit to hold the slot, full payment up front, or payment on the day.
Good to know
Buffer time is your friend for longer jobs. A ceramic coating that needs hours to cure can carry a buffer so nothing gets booked in too soon after it.
Set your locations and travel
If you work from one shop, set its address and you are done. If you run more than one site, or you travel to clients, you can add multiple locations and mobile service areas so clients only book jobs you can reach.
- 1
Add each location
Enter the address for each site you work from. Clients choose a location when they book.
- 2
Set your mobile service areas
For mobile work, set the areas you cover by postcode or by radius around a point, so you never take a job that is too far away.
- 3
Match staff and services to locations
Choose which services and team members are available at each location, so booking stays accurate everywhere you work.
Tailor your intake form
Your starter intake form already asks the basics. Tailor it so you turn up to every job with what you need, and set a default checklist so each job is done the same way every time.
- 1
Edit your intake questions
Open the intake form builder and add the questions that matter to you, like vehicle make, model and condition.
- 2
Set a default job checklist
Add the steps your team works through on every job, so quality stays consistent whoever is on the tools.
- 3
Review your notification templates
Check the wording of your confirmations and reminders so they sound like you before they go out to clients.
Make your account your own
Last, make AppFlow comfortable for you. In account settings you can update your profile, tighten your security and switch between a light or dark appearance.
- Profile: your name, photo and contact details
- Security: your password and sign-in settings
- Appearance: choose light or dark to suit how you like to work
That is the core in place. Your dashboard snapshot now shows your business at a glance, and you are ready to take your first booking. If you ever get stuck, the Help Centre has searchable articles for every part of AppFlow.
Was this guide helpful?
Still stuck? Contact us