Your online shop lets you sell products from your own website and have clients collect them at their next visit. You add the products, switch the storefront on, paste one snippet onto your site and orders start landing alongside your bookings. This guide walks through the whole thing, and you can come back to any step later.
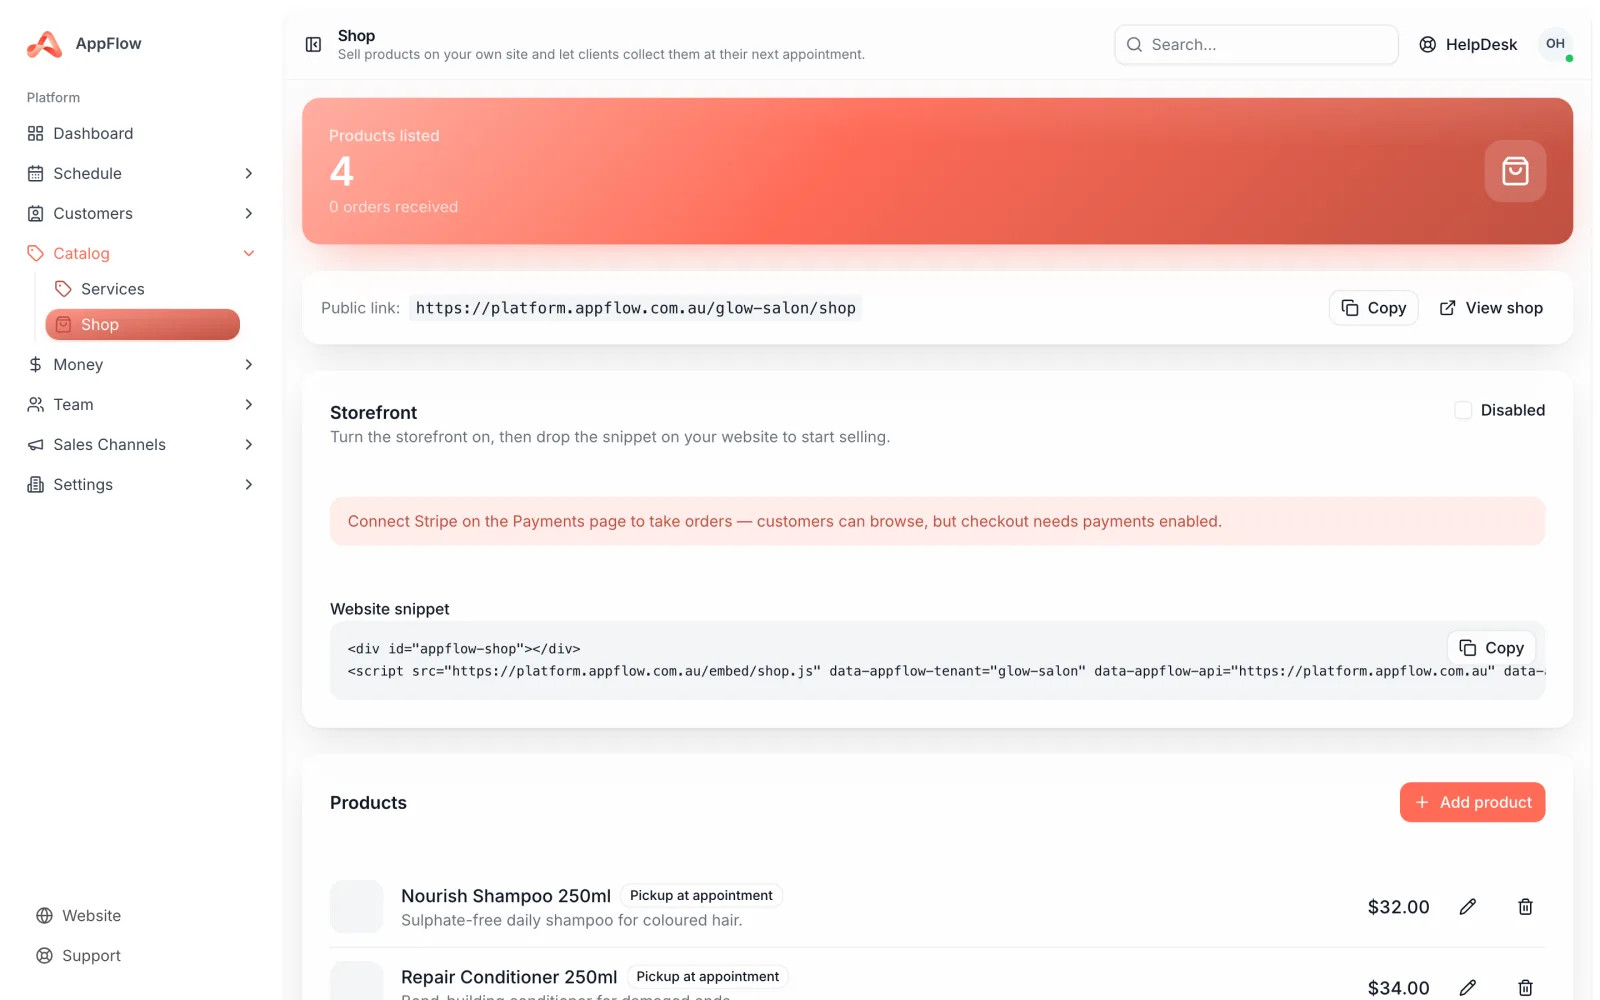
1. Add your products
- 1
Open Online shop in Settings
Choose Add product to create your first listing. You can add as many as you like and reorder them later.
- 2
Add the details
Give each product an image, a price and a short description so clients know exactly what they are buying.
- 3
Set the visibility
Switch a product to visible when it is ready to sell, or keep it hidden while you finish the photo or wait on stock.
Tip
Clear, well-lit photos do the selling for you. A simple shot on a plain background looks tidy in the grid and matches every other product.
2. Turn on the storefront
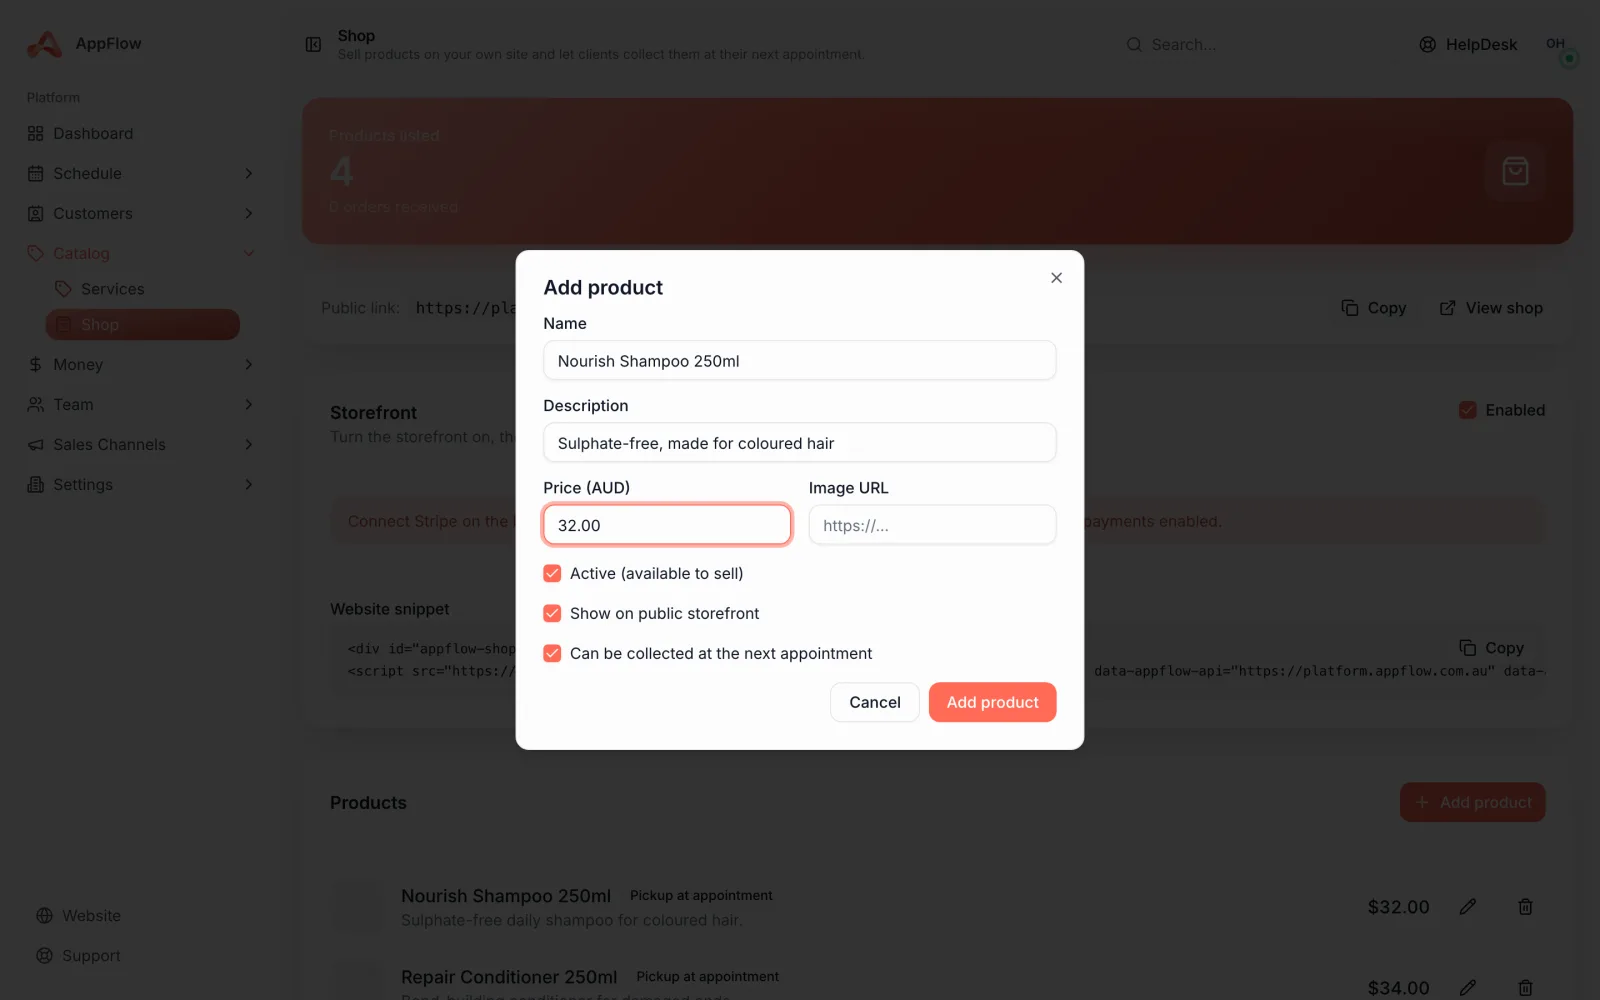
Once you have a product or two ready, switch the storefront on. This is the master switch: when it is off, the shop does not show anywhere, so you can build everything quietly before you go live.
3. Add the shop to your website
- 1
Copy your snippet
In Online shop, choose Embed shop and copy your snippet. It is a short piece of code, ready to paste.
- 2
Paste it where you want the shop
Add the snippet to the page where you want the product grid and cart to appear, then save and preview. There is no iframe to wrestle with, and the shop keeps its own styling so it stays neat on any site.
- WordPress: add a Custom HTML block
- Squarespace and Wix: add an Embed or Code block
- Custom sites: paste the snippet into your page template
4. Check the cart and checkout
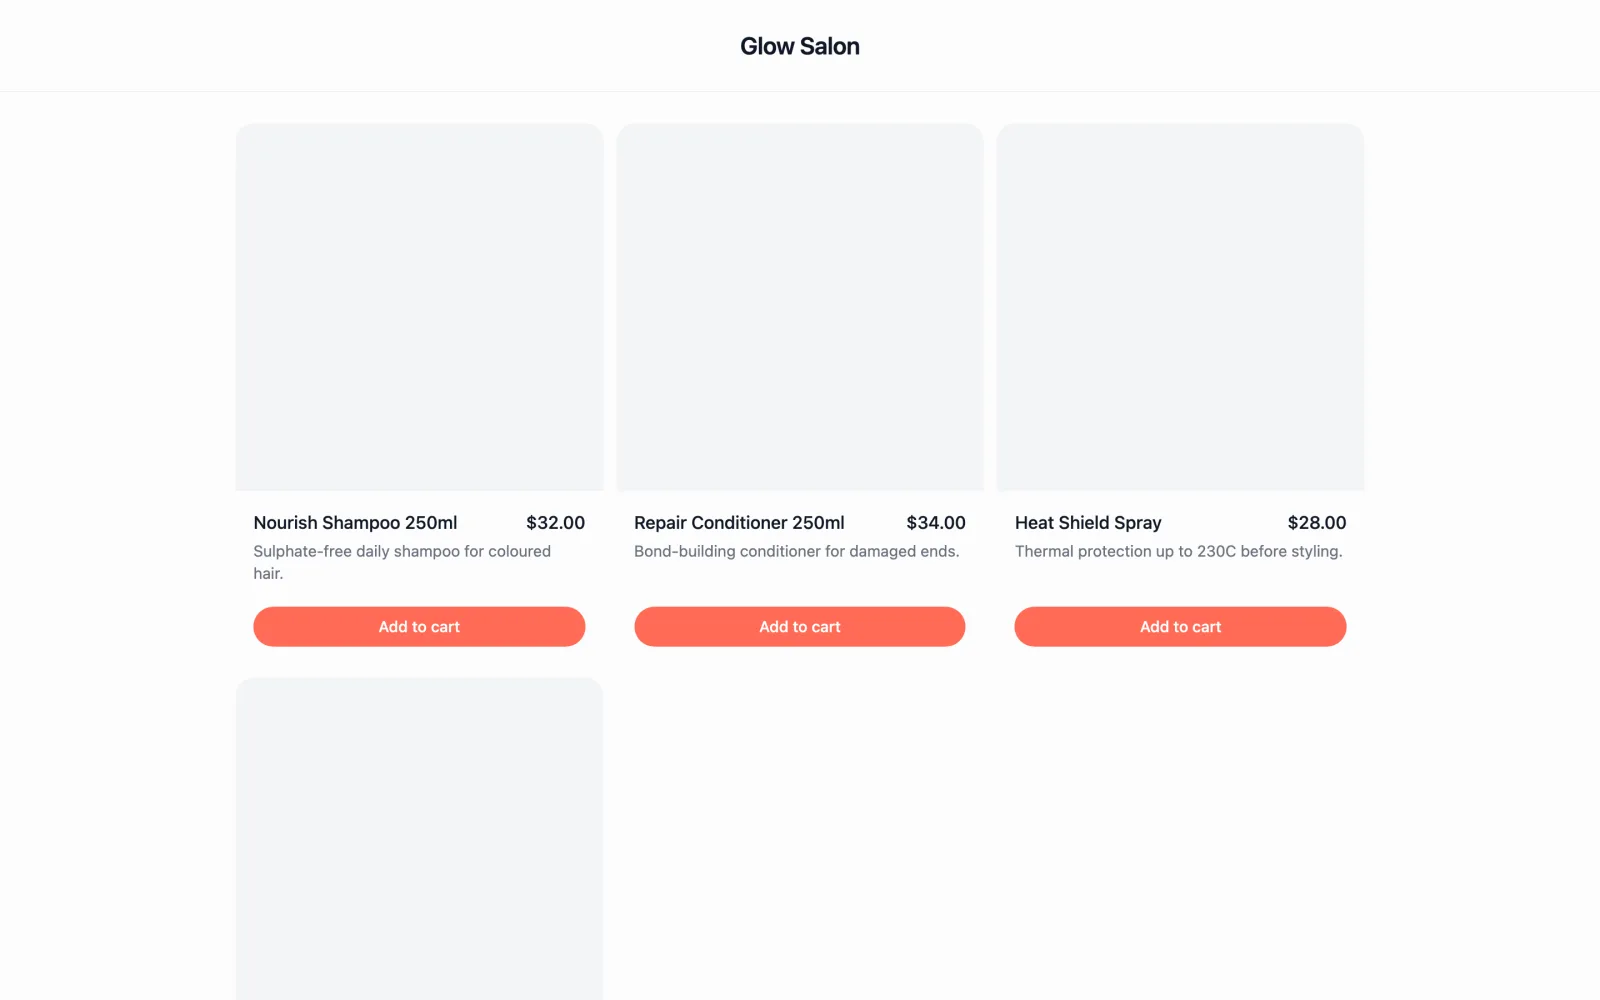
From your live page, add a couple of products to the cart and watch the quantities and running total update. When you go to pay, checkout opens on a secure hosted page on your connected payment account, so card details are handled safely and the money lands with you.
Connect payments first
Checkout uses your connected payment account, so make sure payments are set up before you go live. See the Set up payments guide if you have not done that yet.
5. Offer pick up at the next appointment
At checkout, a client with an upcoming booking can choose Pick up at my next appointment. The order is linked to that booking, so when they arrive your team is reminded to hand it over. It is an easy way to sell add-ons without posting anything or asking clients to make a special trip.
6. Track orders through to handover
Every order shows up in your orders list with what was bought and how the client is collecting it. Mark an order as handed over once you have given it to the client, so you always know what is still waiting to go out.
Was this guide helpful?
Still stuck? Contact us